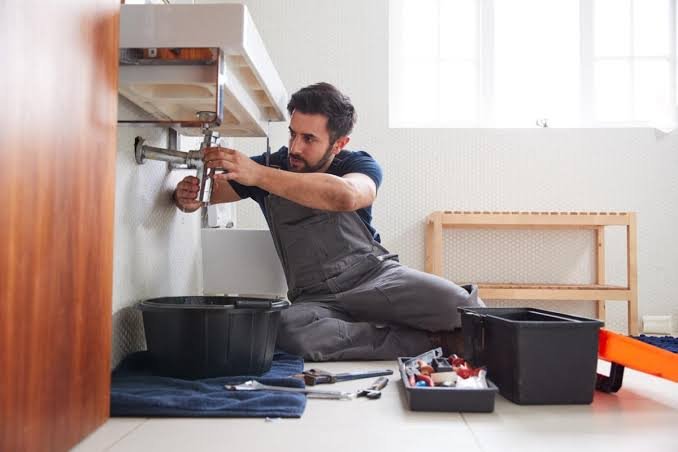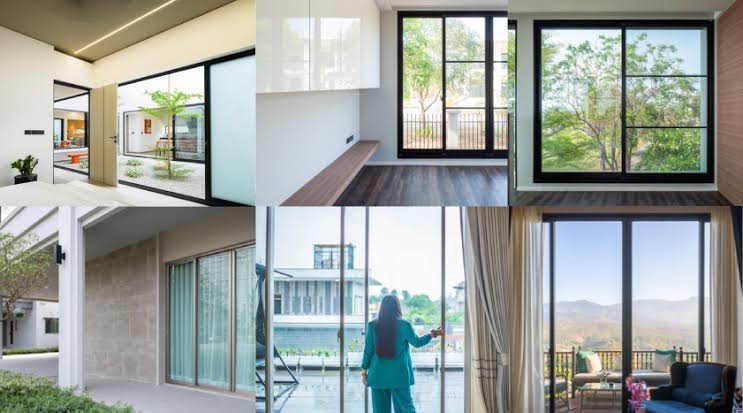




Proper installation is just as important as selecting a good-quality aluminium window. Incorrect installation can result in gaps, water leakage, difficult operation, loose frames, and premature hardware problems. Following a systematic installation process helps ensure that the window performs properly.
Step 1: Inspect and Measure the Opening
Before installation begins, the wall opening should be checked for correct dimensions and alignment. The installer should measure the width and height at multiple points and check whether the opening is level and square.
Any major irregularities should be corrected before the aluminium frame is installed.
Step 2: Prepare the Opening
The opening should be clean and free from loose dust, debris, excess mortar, and other materials. The surrounding surface should provide a suitable base for fixing the frame.
Proper preparation helps the frame sit correctly and improves sealing.
Step 3: Position the Aluminium Frame
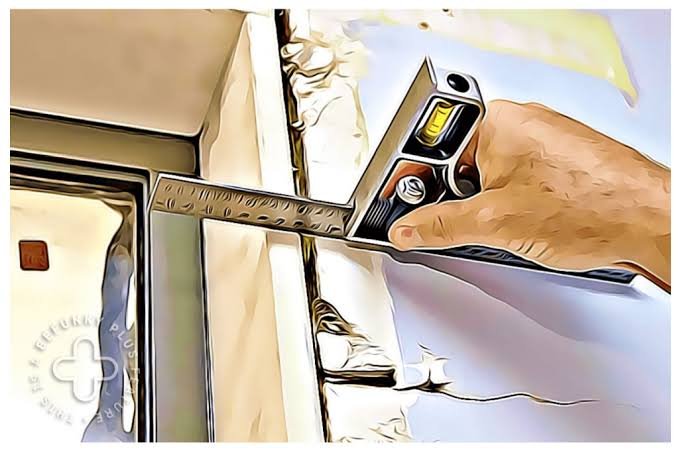
The aluminium frame is carefully placed into the wall opening. The installer checks the frame for vertical and horizontal alignment using appropriate measuring tools.
The frame should not be forced into an opening because excessive pressure can affect its alignment.
Step 4: Fix the Frame
Once correctly positioned, the aluminium frame is secured to the surrounding structure using suitable fixing methods and fasteners.
The spacing and number of fixing points depend on the window design, size, profile system, and site conditions.
Step 5: Check Alignment
After fixing, the installer should check that the frame remains level, plumb, and square.
This step is important because even a small alignment problem can affect sliding shutters, hinges, locks, and other hardware.
Step 6: Install the Glass and Shutters
Depending on the window design, glass may be installed into the frame or shutters may be fitted into their tracks.
For sliding windows, rollers should be checked to ensure that the shutters move smoothly. For casement windows, hinges and handles should be properly fitted.
Step 7: Apply Sealant
Suitable sealant is applied around the frame where required to reduce the possibility of air and water infiltration.
The sealant should be applied neatly and continuously according to the installation requirements.
Step 8: Install Hardware
Handles, locks, rollers, hinges, stoppers, and other hardware are installed and adjusted.
Hardware should operate smoothly without excessive force.
Step 9: Test the Window
The installer should open and close every shutter several times. Sliding shutters should move smoothly, while casement shutters should open and close without rubbing against the frame.
Locks should engage correctly, and gaps should be checked.
Step 10: Final Cleaning and Inspection
After installation, excess sealant, dust, protective films, and construction debris should be removed carefully.
The completed window should then be inspected for scratches, damaged glass, loose fittings, uneven gaps, and finishing issues.
Conclusion
Professional aluminium window installation involves much more than simply placing a frame into a wall opening. Accurate measurement, correct fixing, proper alignment, sealing, hardware adjustment, and final testing are all important steps. A well-installed aluminium window can provide better operation, appearance, durability, and protection from weather-related problems.